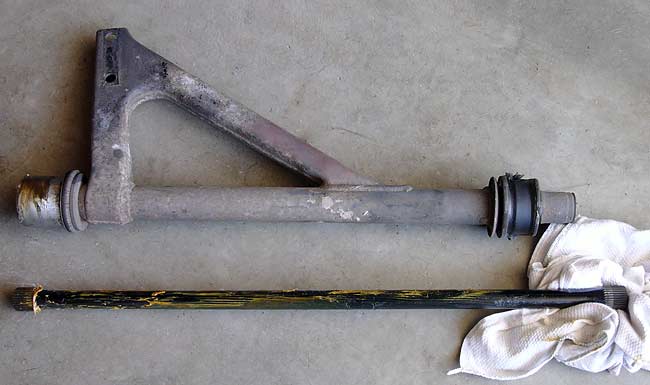


Front A-arm and Torsion Bar The front end of the a-arm is attached with three bolts and comes free when these are removed. Now the torsion bar can be removed to the front by removing the snap ring and driving out from the rear with a drift pin. Next the a-arm can be worked out of the rear attachment by pulling from the front and moving it side-to-side. Notice the steel cover on the rear bushing (which is actually to the left of this picture). The cover is removed by heating with a butane torch. It will eventually get hot enough to slide off and then the bushing can be cut free. It drips molten bushing during this process and even when cool, liquid decomposed bushing can get on everything in site. put news papers on the floor. The residual bushing can be dissolved with 3-M spray adhesive cleaner. |

