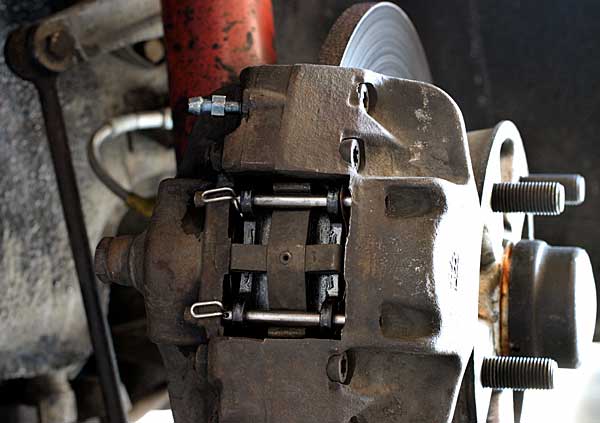


A Completed Caliper Once the caliper is remounted, bleed the brake. With the pressure bleeder all you have to do is put a plastic hose over the nipple and back the valve out enough to allow fluid to flow. Stop when you see no more bubbles or the color has changed indicating the fluid from the reservoir to the caliper has been flushed. Before putting in the pads, pump the brake peddle enough to move the pistons toward the disk enough that the pads will not fit into the opening. Now push the pistons back enough to just slide the pads into the slot. The purpose for doing this extra step is a result of using the square rubber seals that Ate is supplying in their kits. If the seals were rubber O-rings this would probably not be necessary. The problem to overcome is that when the piston is pressed against the pad it moves against the seal. When you take your foot off the pedal, the hysteresis in the seal pulls the piston back. The maximum amount of pull back is too much leading to a spongy feeling brake. The final product, new pads and firm pedal. Be sure to bleed the brakes again in a few days. |

