912 Manual Engine Disassembly
Engine Disassembly
The description leaves out a significant amount of information. A much
better description is found in Harry Pellow's Secrets of the Inner
Circle
| The maunal calls out some special tools that are used for Dissembling
and Assembling the engine. It is assumed in this series that the
engine has been removed from the car.
...More
|

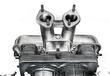
| Detach cable connecting coil and distributor, remove distributor cover.
|
| The shields are the horizontal sheet metal. Removing the exhaust
system is often difficult after years of use but replacement parts are
still being made, so a cut-off saw may be considered.
...More
|
| Remove air cleaners...
|
| Detach oil lines...
|
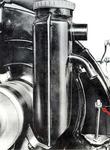
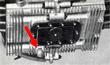
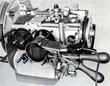
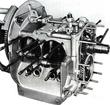
| The picture shows the Euro fan shroud and a braket used to hold the
air hose. This is not included on the U.S. model.
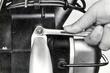
Remove oil filler.
|
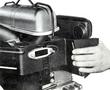
| Not mentioned are many details including the generator strap and that
the generator can remain attached to the fan shroud for this operation.
Remove shroud retaining bolts.
...More
|
| Remove fuel pump and distributor...
|
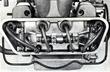
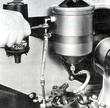
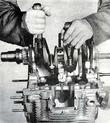
| The rockers cover some of the access to the head studs, so must be
removed first.
Remove rocker arms...
|
| Remove intakes...
|
| It would be good to take pictures of each stage of dissassembly to
guide in reassembly.
Remove cylinder heads.
...More
|
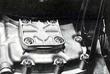
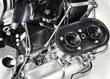
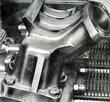
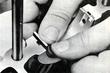
| Notice that the U.S. models did not include the exhaust muffler
brackets that are seen in this picture.
...More
|
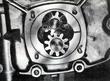
| Remove oil pump gears...
|
| Remove third piece...
|
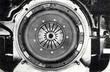
| Remove the clutch.
|
| Remove the crank shaft.
|
| Remove bearings and lifters.
|
Last modified: Mon, 17 Jan 2005
Links
|


