

Checking Carburetor Float LevelSpecial Tools:Special Tools: P 78 Float Level Gauge Procedure1. Place car on level base. 2. Remove main jet carrier from one carburetor.  3. Install float level gauge (P 78) in place of main jet carrier. 4. Start engine and allow to idle. When float level is correctly set, the fuel will rise to a point between the marking rings on the gauge tube. If the fuel level check is accomplished according to the above instructions, the need for a float level readjustment will seldom occur. Whenever the float level deviates from specifications, first check the float, float adjustment swivel, and the float needle valve; thereupon proceed with steps required for readjusting the float level by resetting the externally located float level adjusting screw. Note : Turn adjusting screw in to lower the fuel level, turn the screw out to raise the level. Apply the following procedure if the float level gauge (P 78) is not at hand: 1. Place car on level base. 2. Start engine, 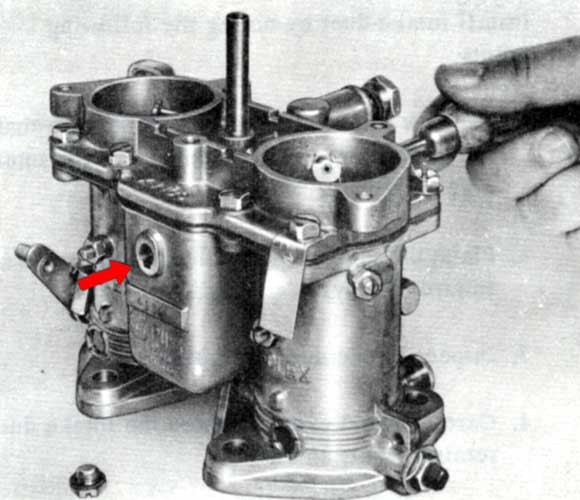 3, Remove plug from the float level inspection port, When the float level is correct, the fuel will be seen in the machined groove within the threaded part of the port, or it will just begin to flow out. 4. Readjust float level if necessary. Note : Turn adjusting screw to lower the float level, turn the screw out to raise the level, Note Turning the adjustment screw in causes the float to move downward which, in turn, causes some of the fuel to run out through the inspection port. Therefore, allow the engine to use up the fuel excess before making the final adjustment. |

