Reconditioning Fuel Pump
Disassembly

- Remove cover retaining hex bolt.
- Remove cover and fuel screen.
- Remove six fillister screws which secure the upper assembly, withdraw assembly.
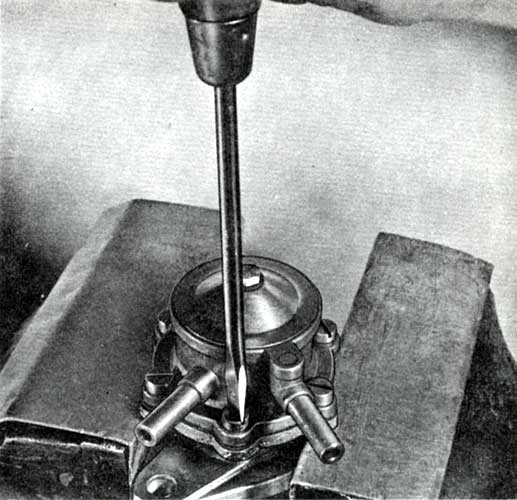
- Rest the lower assembly of pump on the diaphragm supporting disc,
push spring retainer down with pliers, remove lock ring, spring
retainer, and spring.
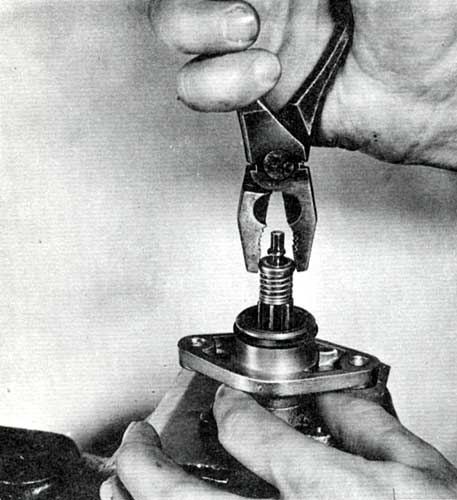
- Withdraw the diaphragm-plunger-spring assembly from lower pump
casting. Ensure that there is no grit around the lock ring groove in
plunger to prevent damaging the oil scraper.
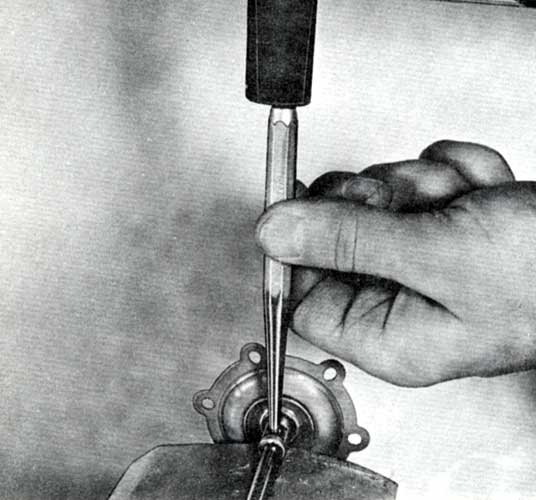
- Remove coupling pin from actuating plunger with a punch, detach
diaphragm from plunger.
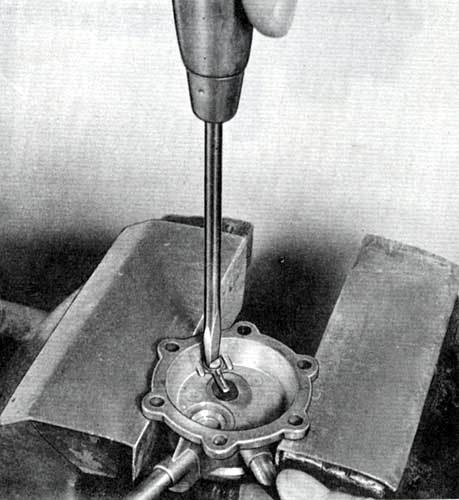
- Remove self-threading fillister screw from inlet valve and remove
leaf spring valve and valve limiter (outlet valve cannot be removed).
- Clean pump components with gasoline.
Reassembly
Reassembly is accomplished in reversed order of the above by noting
the following points:
- Check outlet valve in upper assembly for proper functioning.
- Check sealing surfaces of inlet valve.
- Install leaf spring valve and valve limiter, check for proper operation.
- Reconnect diaphragm with plunger with the pin, check free movement
of plunger in diaphragm coupling. Center coupling pin in plunger.
- When mounting pump upper assembly. ensure that the diaphragm is
not creased. Evenly tighten screws in cross-sequence.
- Check gasket at pump cover, replace if necessary.
|


